I remember the first time I picked up a nail drill. My hands were shaking, I was terrified of hurting myself, and I was absolutely convinced I was going to file my nails down to little nubs of regret. But here‘s what I learned: a great nail drill isn’t about raw power. It‘s about control, patience, and learning to use the right tool the right way.
Whether you’re a DIY nail enthusiast or dreaming of becoming a professional nail tech, this guide will walk you through everything you need to know about nail drills—what they are, how to use them safely, and how to choose the perfect one for your needs.
What Is a Nail Drill and What Does It Do?
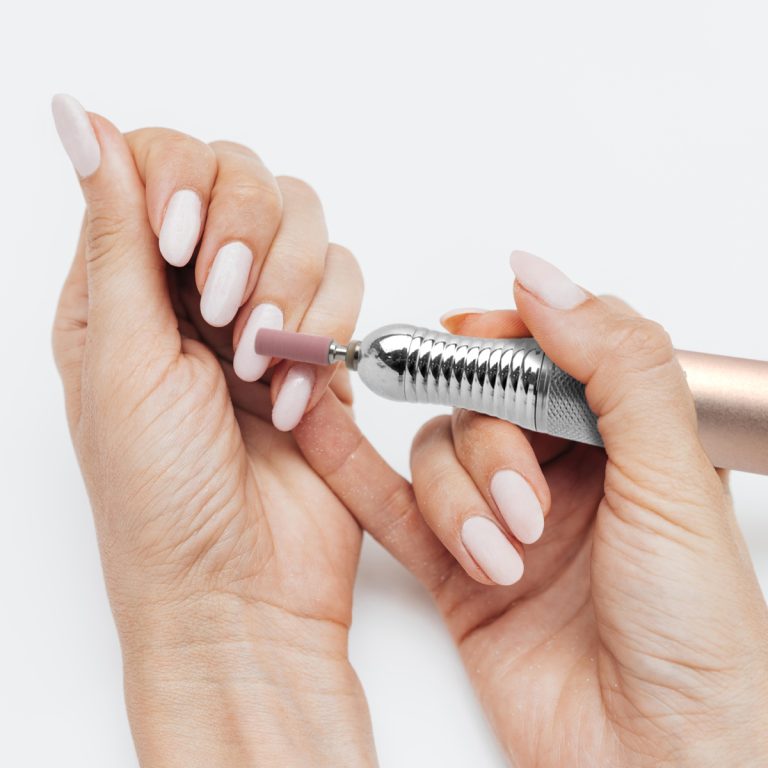
A nail drill, also called an e-file (electric file), is a handheld device that uses a spinning bit to shape, smooth, and refine nails. You can think of it as a small, gentle drill made specifically for beauty work. Unlike manual filing, which can take forever and strain your wrist, an e-file handles the hard work for you.
So what can you actually do with a nail drill?
Shaping and shortening acrylics, hard gels, or long natural nails becomes quick and effortless with a barrel bit. Cuticle work becomes more precise—using fine diamond bits at a low speed to gently clean the cuticle area gives you much better control than traditional nippers. Removing old product like gel polish or acrylics is significantly faster with ceramic or carbide bits, saving you from long, messy acetone soaks. Smoothing calluses during a pedicure uses special bits with strong torque to gently smooth hard skin on feet, which is far more effective than manual filing.
Using an e-file dramatically reduces the time it takes to prep the nail or remove product, which means less physical strain on your hands and wrists. Many clients even say the prep stage feels more pleasant and gentle compared to aggressive hand filing.
How to Use a Nail Drill Safely (Even If You’re a Beginner)
Using a nail drill doesn’t have to be scary. Follow these steps, and you‘ll be filing like a pro in no time.
Step 1: Choose the Right Bit
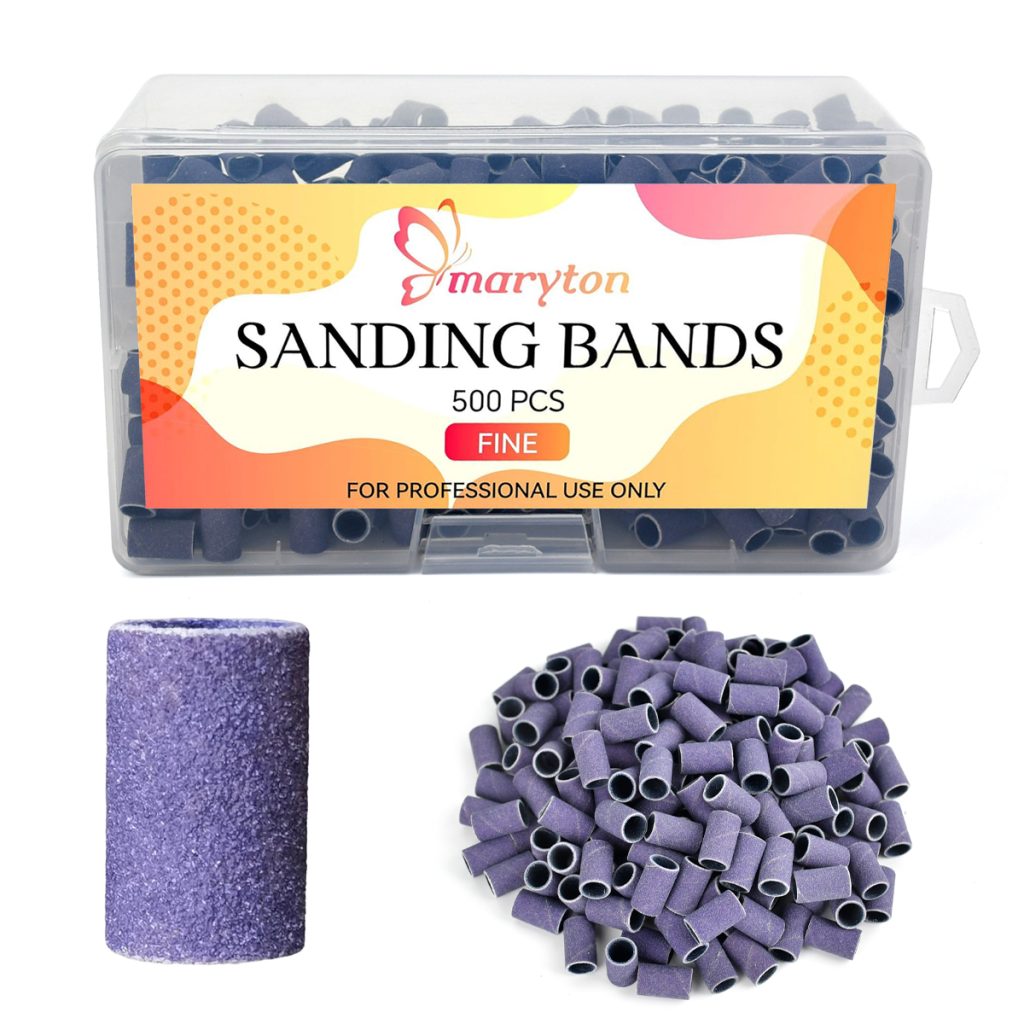
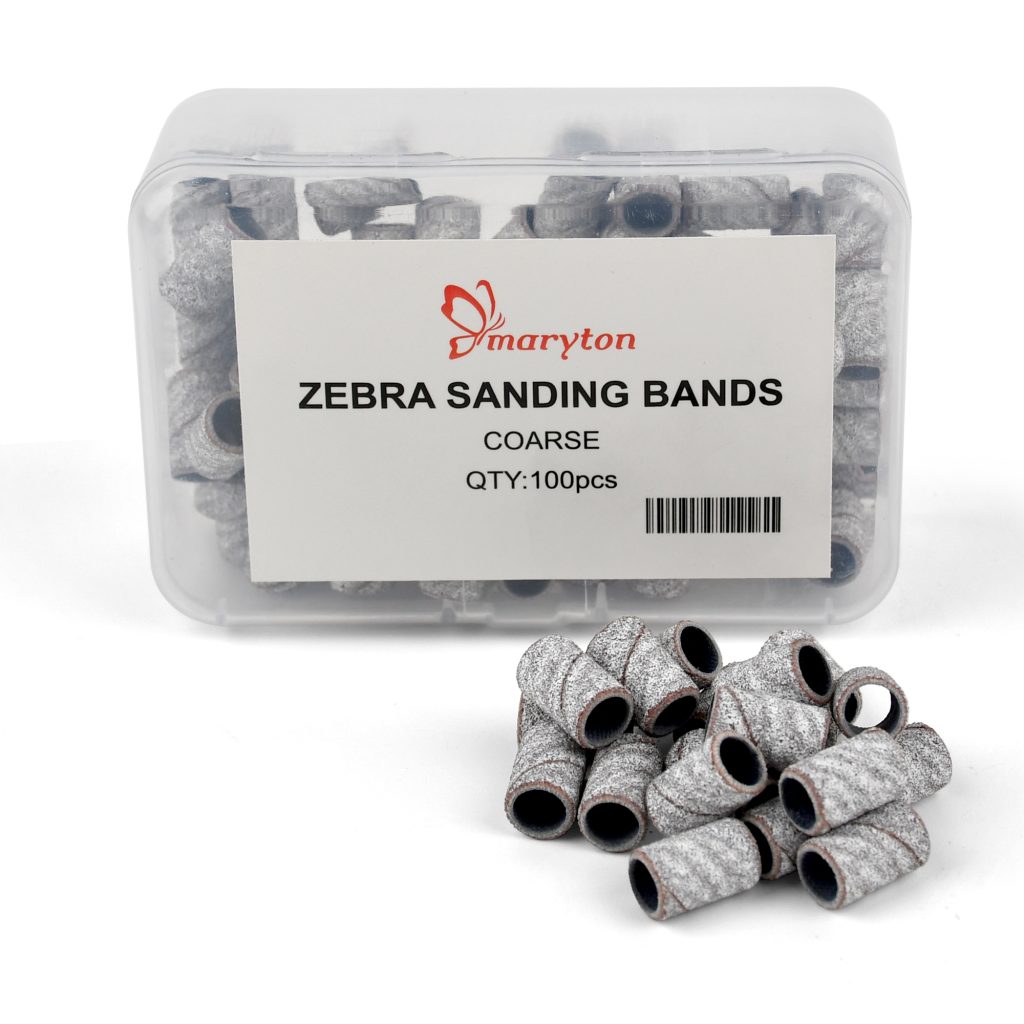
The bit you choose makes a huge difference. As a beginner, start with a Mini sanding band or a fine diamond bit. Avoid coarse carbide bits until you’ve gained more experience—they‘re designed for heavy product removal and can damage natural nails if used incorrectly.
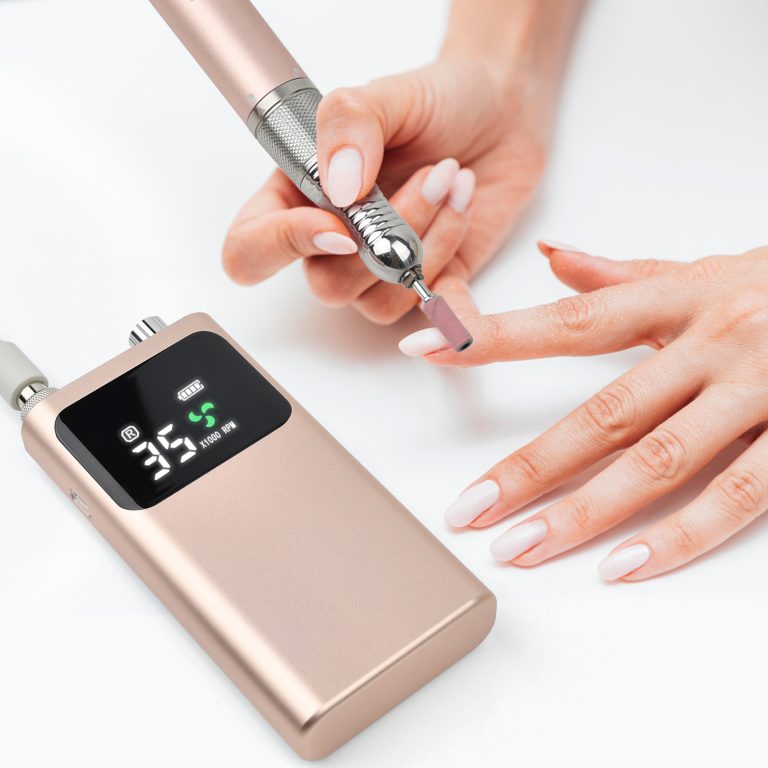
Step 2: Set Your Speed Low
The safest speed range for beginners is between 5,000 and 8,000 RPM. Use 5,000 RPM for natural nails and light prep work. Use 6,000–8,000 RPM for removing gel or soft product. Never start at high speeds—you need to build control first.
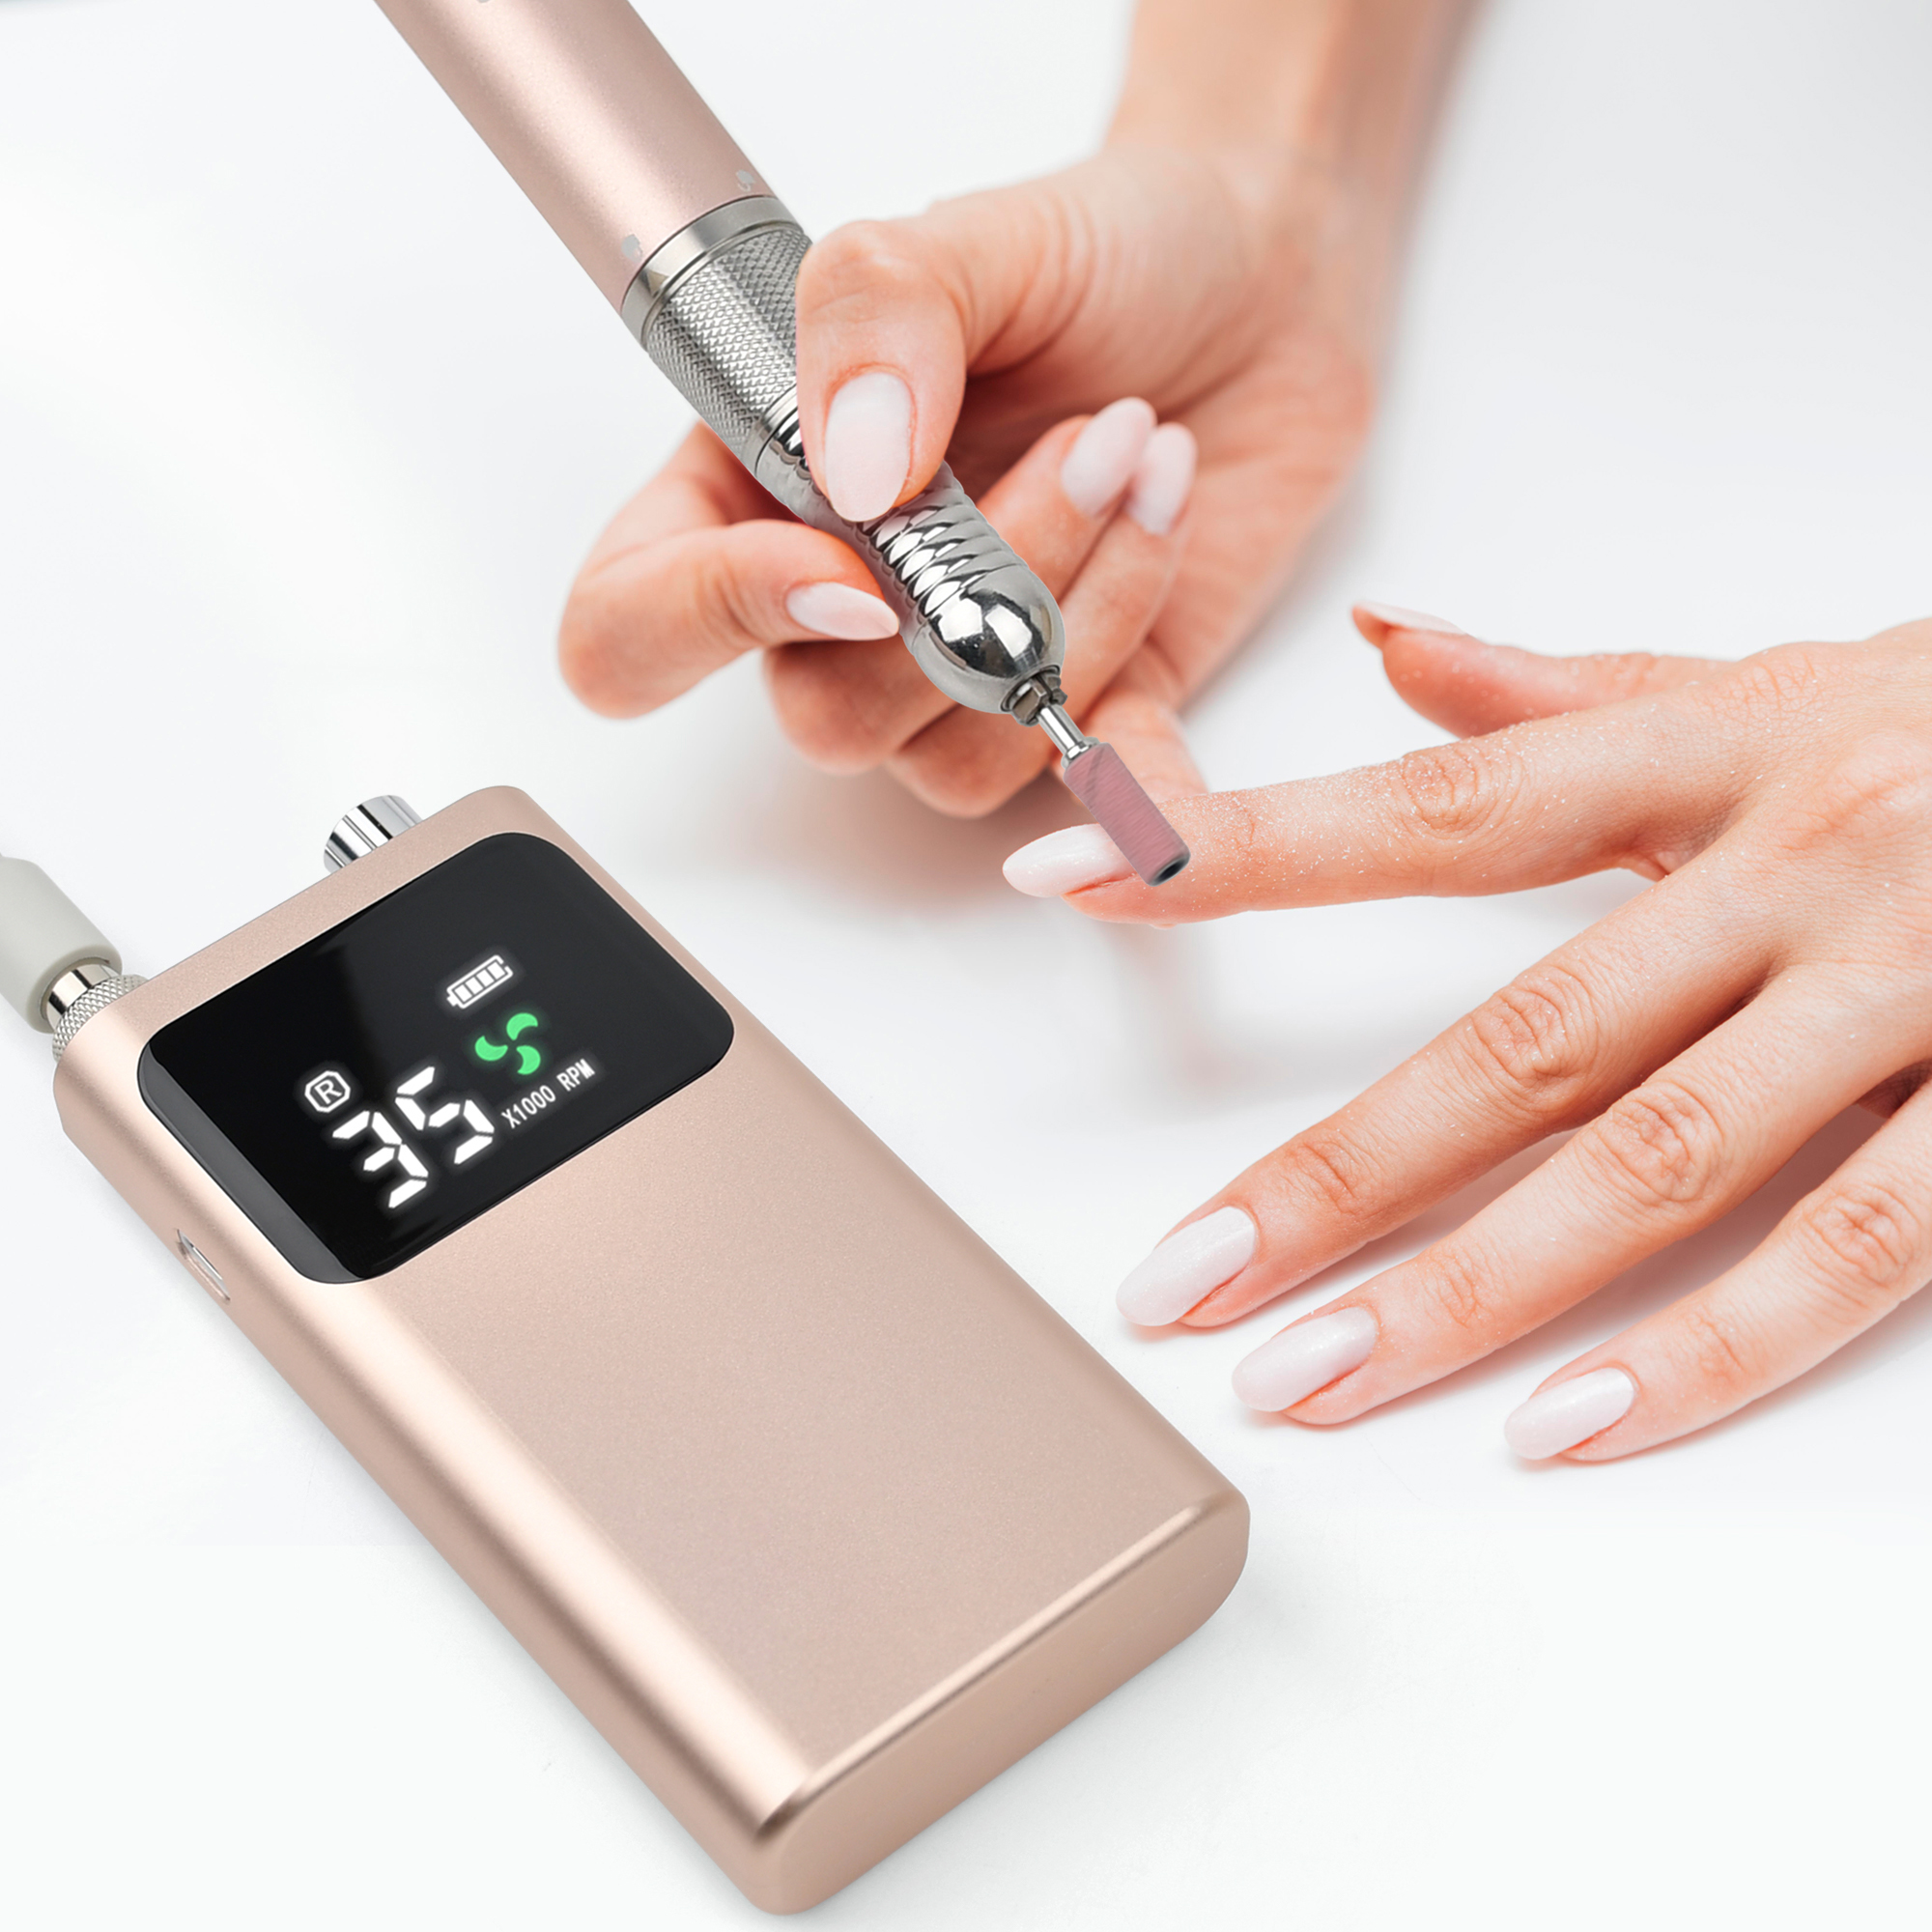
Step 3: Hold the Drill Like a Pencil
Hold the handpiece lightly and comfortably. Rest your pinky or hand on the table for stability. Keep your wrist relaxed. A light grip gives you better control than a death grip.
Step 4: Keep the Bit Moving
This is the golden rule of e-filing. Move the bit in one smooth direction and never stay in one spot. Do not push down—let the e-file do the work. Staying in one area creates friction, builds heat, and can damage the nail plate. Keep it gliding.
Step 5: Work in the Right Order
When removing product, work systematically. First file the center of the nail, then the cuticle area, then the tip. The sidewall areas can be smoothed out last. This order prevents you from accidentally digging into sensitive areas.
Step 6: Practice on Fake Nails First
Before you touch your own natural nails, practice on fake nail tips. This builds muscle memory and confidence without the risk of hurting yourself.
How to Choose the Right Nail Drill
With so many options on the market, picking your first e-file can feel overwhelming. Here are the key features to look for.
Variable Speed Control
This is the single most important feature for beginners. A drill that‘s only “on” or “off” is a recipe for disaster. You need the ability to start at a very low speed (around 3,000–5,000 RPM) and gradually increase as your confidence grows.
Forward and Reverse Rotation
This isn’t just a gimmick. When you work on your right hand versus your left, you need to change the drill‘s direction to file effectively and avoid skipping or catching. A drill that only spins one way forces you into awkward hand positions, which is how mistakes happen.
Comfort and Ergonomics
Choose a handpiece that feels comfortable and lightweight to reduce strain. A lighter model makes a real difference during longer manicure sessions—less hand fatigue means you can work longer and more comfortably.
Low Vibration
A tool that vibrates excessively is hard to control, leading to uneven results and hand fatigue. Look for models that run smoothly and quietly so you can maintain steady control.
RPM and Torque
RPM (Revolutions Per Minute) is the speed of the e-file when the bit is spinning. Most e-files range from 15,000 to 40,000 RPM. For natural nails, an RPM of at least 15,000 should suffice. For enhancements like acrylic, you‘ll want a machine with an RPM of 25,000 or higher.
Torque is the power behind the speed. High torque ensures the bit keeps spinning consistently even when it meets resistance from thick product. A device with good torque won’t stall or slow down mid-use.
Understanding Nail Drill Bits
The bit is the most important part of your e-file. Each bit is designed for specific tasks, and using the wrong one can cause damage.
Bit Materials
Ceramic bits are perfect for gentle, precise work. They produce less heat than metal bits, create less dust, and are ideal for cuticle work and natural nail prep.
Diamond bits are the toughest option, with diamond particles coating the surface. They‘re excellent for cuticle cleaning and acrylic removal, providing strong performance for gels and acrylics.
Carbide bits are the heavy-duty choice. They shave through product rather than scratching it, making them the best for acrylic removal. However, they require a steady hand and experience to use safely.
Sanding bands are disposable and beginner-friendly, used for surface work and shaping.
Bit Shapes
Barrel bits are great for surface work on nails—shortening, shaping, and creating smooth finishes. But avoid using them on cuticle areas.
Cone bits are slim and precise, perfect for prepping sidewalls and cleaning under the nails.
Flame bits are designed for refining the cuticle area and reducing product bulk on enhancements.
Safety bits feature a rounded top that makes them safer around cuticles without the risk of cuts.
Ball bits are ideal for delicate cuticle work and cleaning tight corners.
Best Nail Drills for Beginners
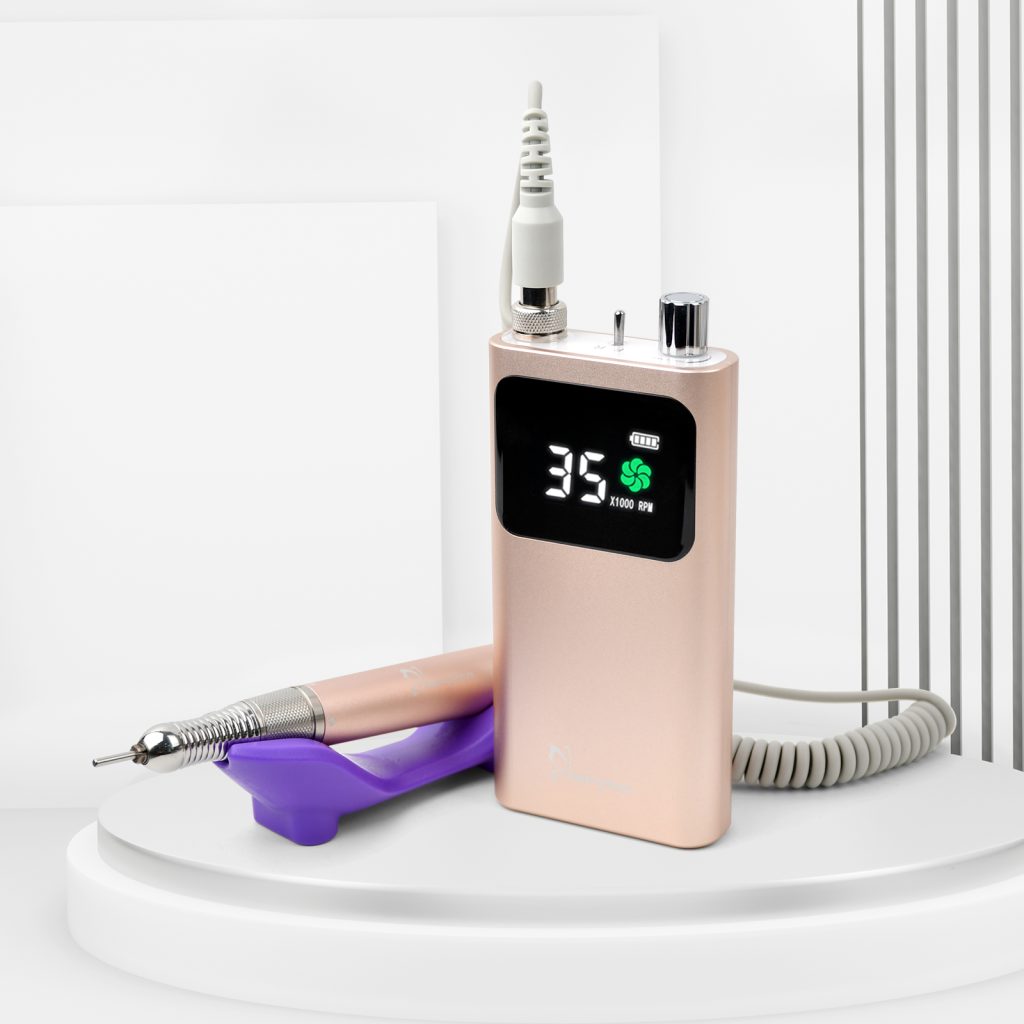
Maryton nail drill is a super-affordable starter kit for absolute beginners who want to dip their toes in without a major financial commitment. It‘s incredibly simple to use with low vibration and noise.
Safety Tips You Should Never Ignore
Never use carbide bits on natural nails. Carbide bits are designed for debulking artificial enhancements and will damage the natural nail plate.
Always keep the bit moving. Staying in one spot creates heat, friction, and can burn or damage the nail.
Start slow. Low speed is your friend. You can always increase speed as you gain confidence.
Don‘t push down. Let the e-file do the work. Pushing creates heat and removes too much product too quickly.
Buy quality, not cheap. Cheap drills with limited speed ranges can damage natural nails and reduce precision. Investing in a reliable, entry-friendly professional drill reduces the risk of damage and speeds up your learning. As professional nail techs say: “Buy cheap, buy twice”.
The Bottom Line
A nail drill is one of the most versatile tools you can add to your nail care kit. It saves time, reduces hand fatigue, and gives you results that look like they came from a professional salon. The key is choosing the right drill for your skill level, learning to use the correct bits, and always prioritizing safety over speed. Practice on fake nails first. Keep your speed low and your bit moving. Within a few weeks, you‘ll wonder how you ever did your nails without an e-file.
And honestly? Watching those perfectly smooth, professionally shaped nails come together with a tool that fits right in your hand is incredibly satisfying. Happy filing!
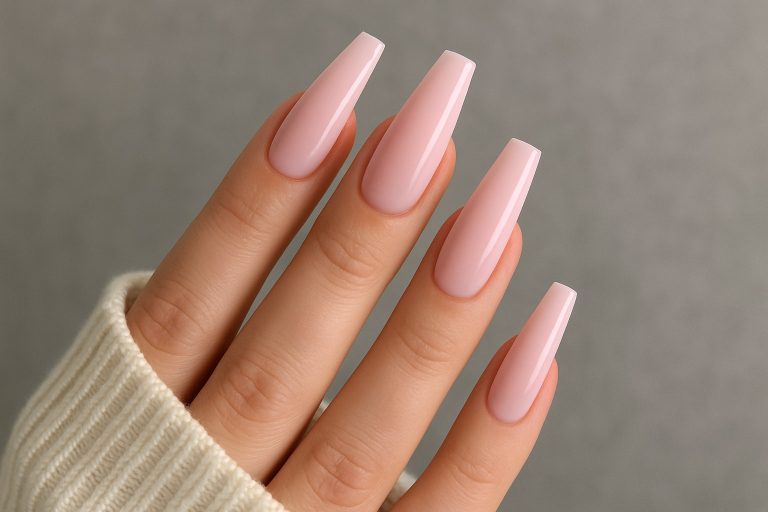
Read also: Ballerina vs. Coffin Nails: A Complete Guide to the Pointed Square