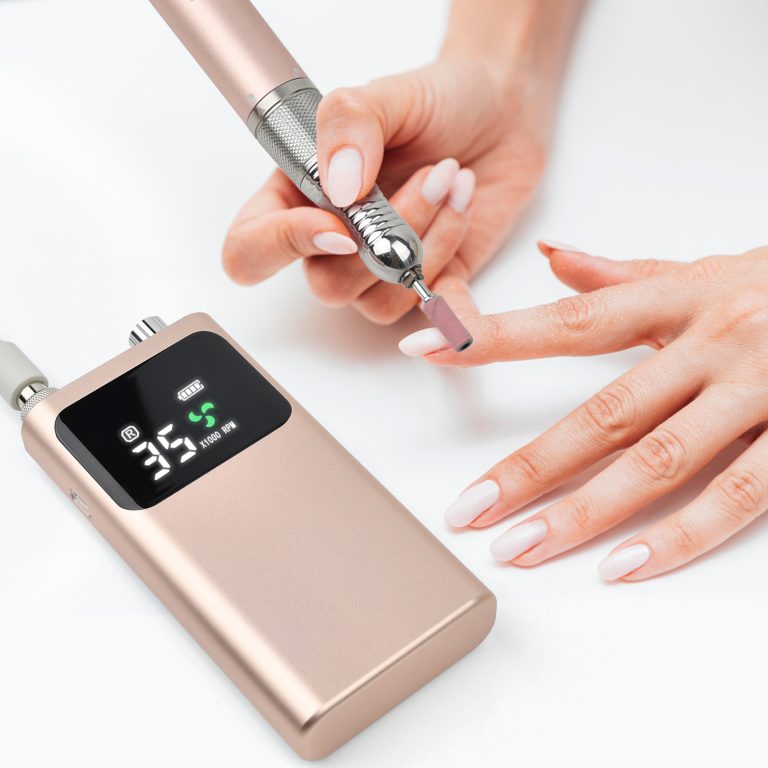
If you’ve ever had a professional manicure or done your own nail enhancements, you’ve likely seen a nail drill machine in action. This powerful tool is a game-changer for shaping, refining, and removing product, but its real magic lies in the bits it uses. Understanding the different types of nail drill bits and how to use them correctly is key to achieving beautiful nails while keeping them healthy and strong.
Common Types of Nail Drill Bits
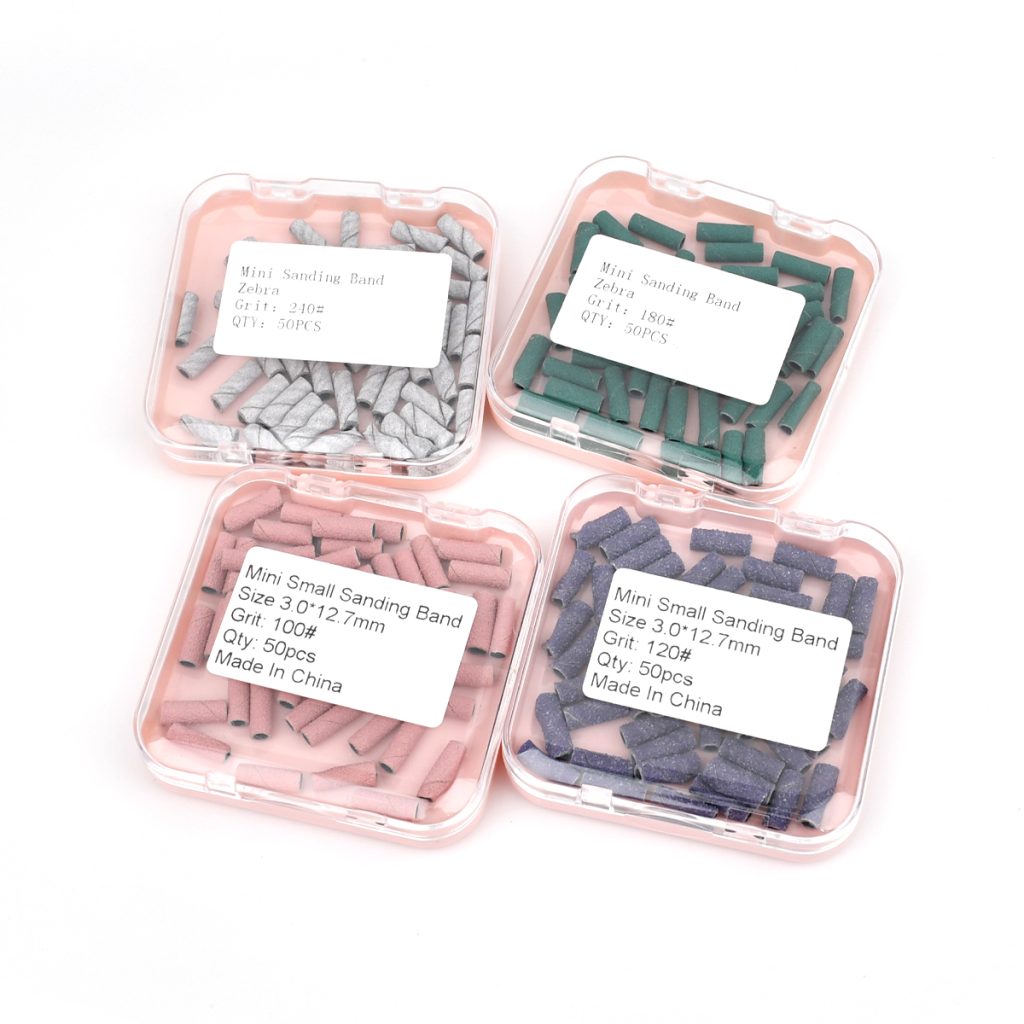
Nail drill bits come in various shapes, materials, and grits, each designed for a specific task.
- Ceramic Bits: These are gentle and perfect for beginners. They generate less heat and are ideal for light filling and buffing the natural nail. They are often used with a low speed for precision work.
- Diamond Bits: As the name suggests, these bits have a diamond-dust coating. They are versatile and come in coarse, medium, and fine grits. A coarse diamond bit is great for removing hard gel, while a fine one is excellent for refining and smoothing the nail surface.
- Carbide Bits: These are among the most popular and efficient bits. They have fluted or cross-cut designs that quickly remove product without much pressure. They are perfect for safely lifting off acrylics and hard gels. Their sharp edges require careful handling to avoid damaging the natural nail.
- Mandrel Bits: These are essentially metal posts that hold sandpaper bands. They are disposable, hygienic, and perfect for one-time use on clients. They are best for light finishing and polish removal.
Using Your Nail Drill Safely and Effectively
Using a nail drill requires a gentle touch and the right technique. Here are a few essential tips:
1. Start Slow: Always begin at a low speed. You can gradually increase it as needed, but high speeds generate heat and friction, which can damage the nail bed.
2. Feather Light Touch: Let the bit do the work. Never apply heavy pressure. Gently glide the bit over the nail in one direction to avoid creating grooves and generating excessive heat.
3. Keep it Moving: Never hold the drill bit in one spot for too long. Constant, gentle motion prevents overheating and ensures even product removal.
4. Match the Bit to the Task: Use a coarse bit for heavy-duty removal and a finer bit for detail work near the cuticles and sidewalls. Using the wrong bit can lead to accidents.
5. Sanitize Everything: Always disinfect your bits before and after each use to prevent the spread of bacteria and fungi.
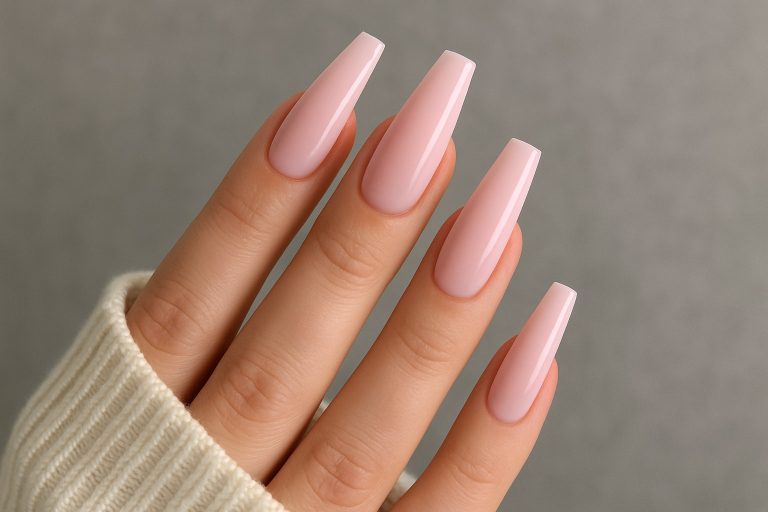
The Foundation of It All: Healthy Nails
While nail drills and bits are fantastic tools, their ultimate purpose is to enhance beauty without compromising health. Healthy nails are not just an aesthetic goal; they are a sign of overall well-being.
The natural nail is a delicate structure. Aggressive filing, excessive drilling, or using the wrong technique can thin the nail plate, cause weakness, splitting, and even lead to painful infections. By using your drill bits correctly, you preserve the integrity of the nail. This means leaving a protective layer of natural nail intact when removing enhancements and avoiding contact with the sensitive cuticle and skin.
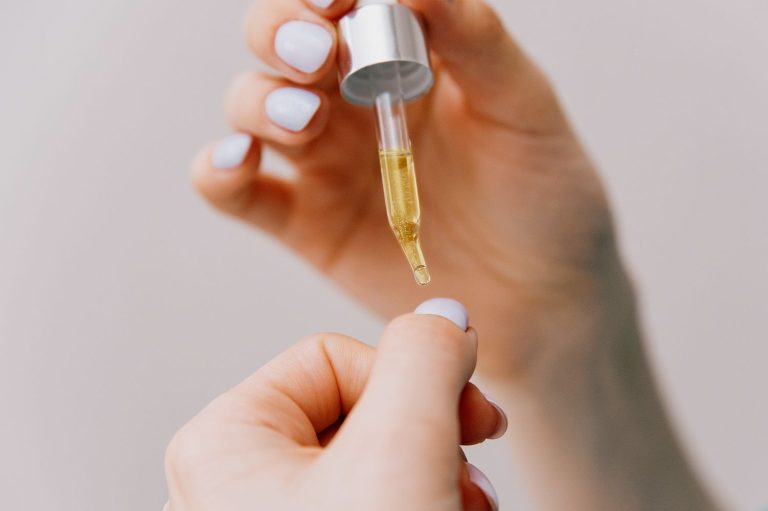
Remember, beautiful nails are healthy nails first. Proper nutrition, hydration, and giving your nails a break from enhancements periodically are just as important as any technical skill. By choosing the right bits and using them with care, you can enjoy beautiful, creative nail art while ensuring your natural nails remain strong and healthy underneath.